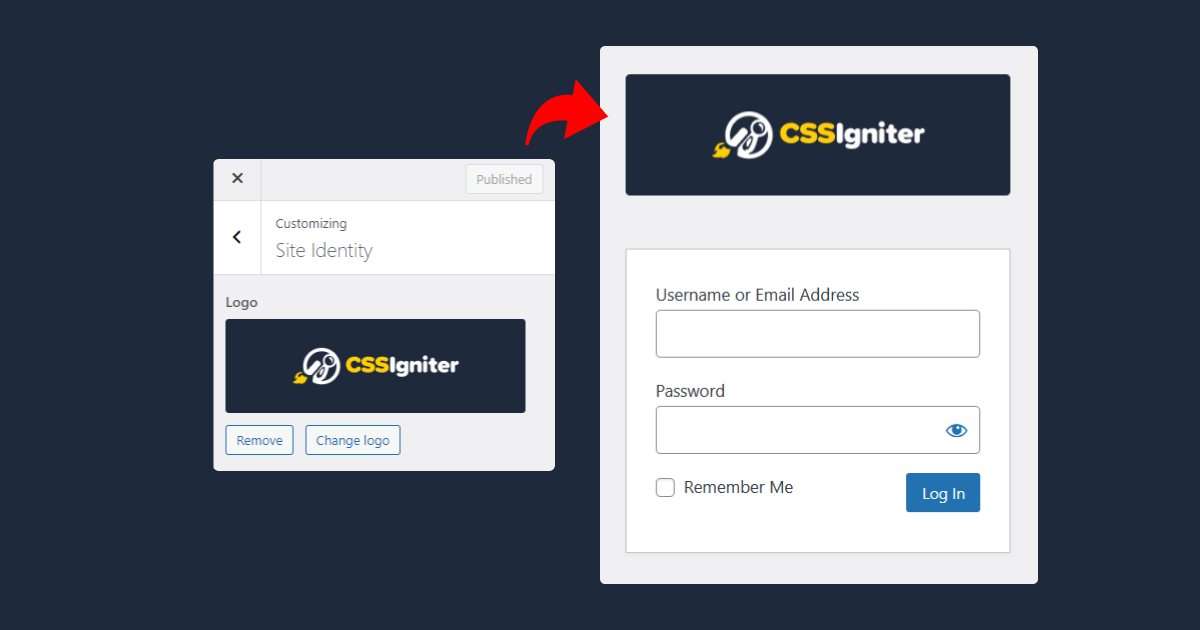
Customizing the WordPress Login Logo Using the Theme Customizer’s Logo

When setting up a WordPress website for a client, it’s the little touches that make a difference. One easy change that adds a personal touch is swapping out the standard WordPress logo on the login page for the client’s own logo. By using the logo they’ve already added in the WordPress Customizer, you can give their login page a familiar feel. This guide will help you do just that!
Always back up your theme before making any changes. Directly editing theme files can be risky, and a minor oversight might cause issues with your website’s functionality.
We are going to add the following code snippet in our active theme’s functions.php file.
Accessing the theme’s functions.php file
- Navigate to your WordPress Dashboard.
- Go to Appearance > Theme Editor.
- On the right side, find and click on the
functions.phpfile. This is where you’ll be adding the provided code. - Add the following code snippet.
If you don’t see the Theme Editor option under Appearance it means that you are using a Full Site Editing theme. We will cover this scenario in an upcoming tutorial.
And that’s it!

Now every time you change your website’s logo through Appearance > Customize > Site Identity the logo on your WordPress login page will also be updated.